Presentation
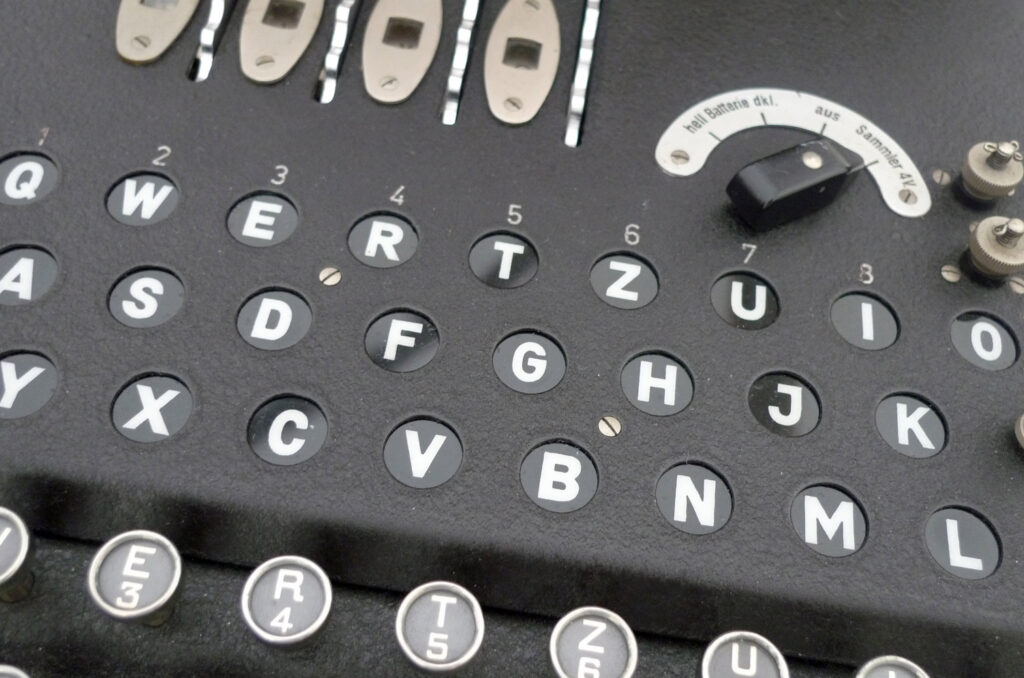
Enigma machines are a fascinating piece of engineering and history, unfortunately they are extremely expensive and remain inaccessible for most people.
Thus, the idea to build a replica was born—the beginning of a difficult and very long endeavor.
The goal is to make the replica as historically accurate as possible, so shortcuts taken by other projects to avoid the worst difficulties—PCBs in rotors, microswitches for key switches—will not be taken.
The plans
Fortunately, a school in Germany has run a replica construction project. Having gained access to a 1943 Enigma I owned by the Bundeswehr Museum of German Defense Technology in Koblenz, they were able to take measurements and made blueprints.
They went (at least) as far as building a mechanically functional replica but there were no updates after this stage, nor published pictures of the completed machine.
They were kind enough to share their blueprints (see References); those were the indispensible starting point for the replica build project, and without them the project would have faced a lot more guessing, trial and error, and could not be as accurate.
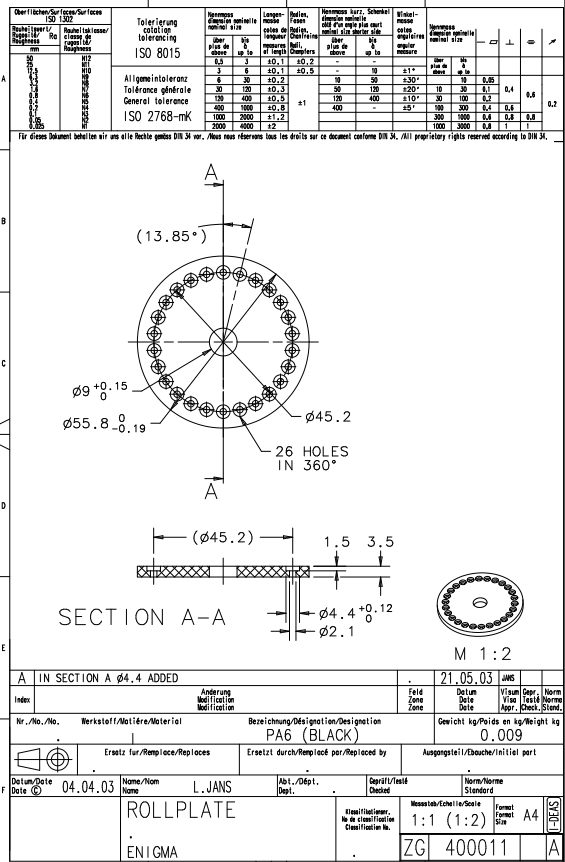
Examples of Enigma blueprints – Hochschule Ravensburg-Weingarten
The blueprints are not complete (for example, the electrical circuit is missing entirely except for the contact pins), so the following elements have to be designed from scratch, with informations from other sources:
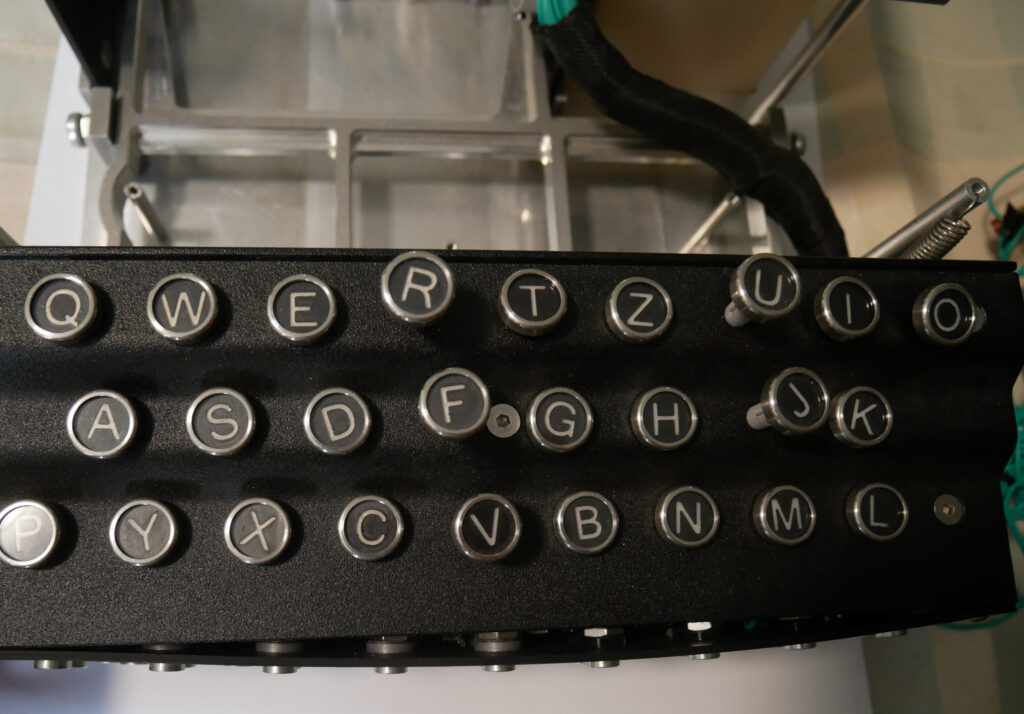
- key switches
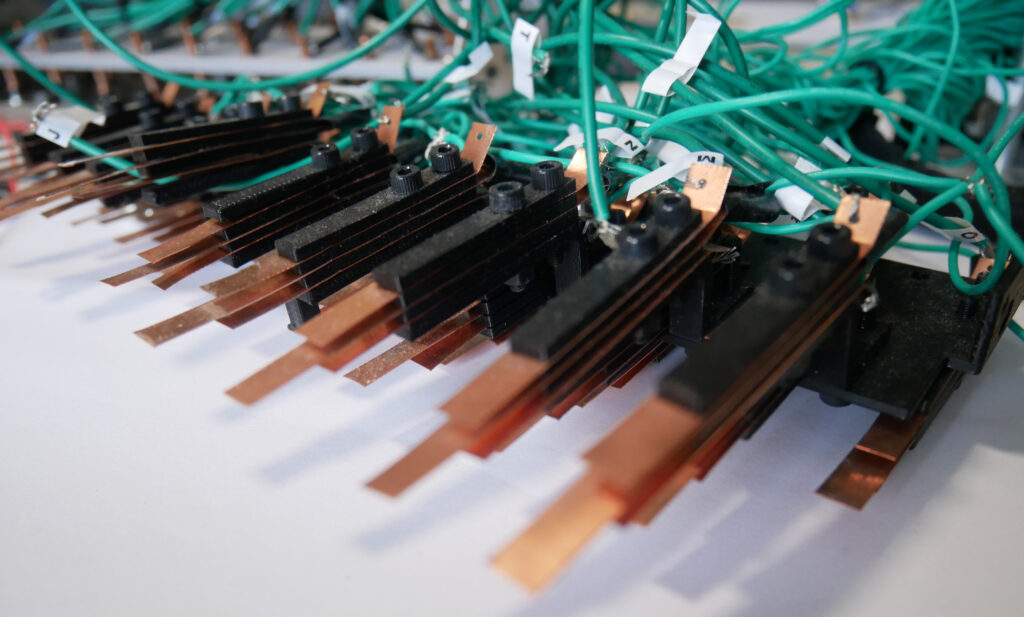
- stecker cables
- shorting bars
- top and side covers
- battery box and selector
- box and accessories…
In addition some errors/differences with common Enigmas have been spotted and must be addressed, and the D-reflector described in the blueprints is too complicated and was too rarely used so the more common B-reflector will be built instead.
3D modeling
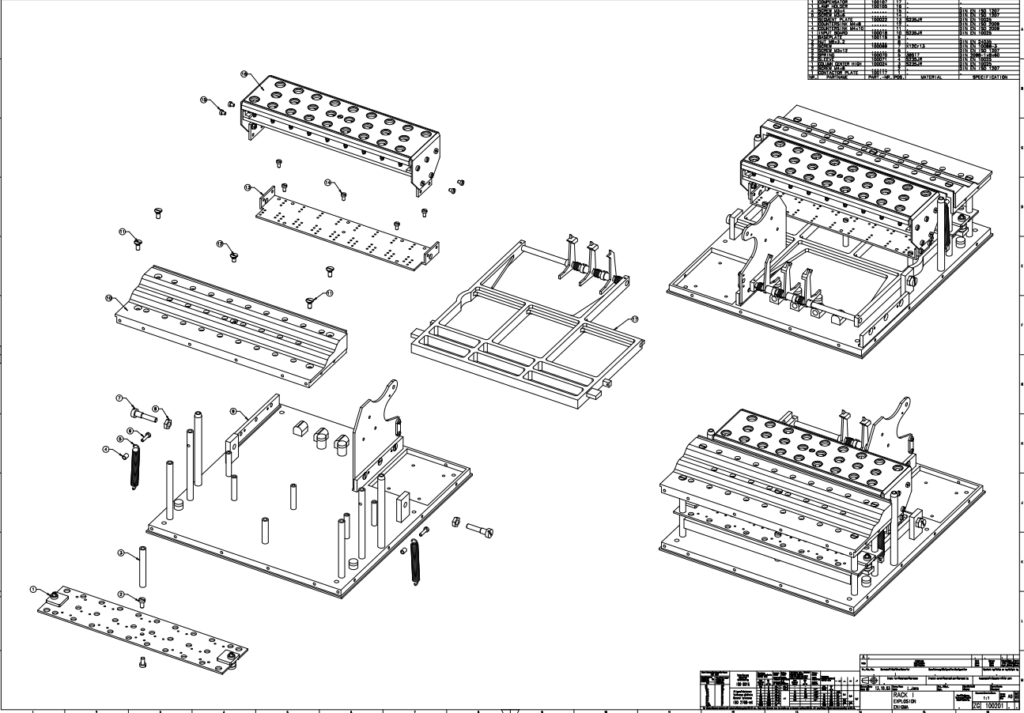
The blueprints are painstakingly turned into 3D models, and the missing parts are designed from photos, with theirs dimensions inferred (either through pictures or from the assembly of the 3D-models). Wires are not modeled.
- 3D Model of the Enigma as per the blueprints
 Enigma – front view


")
")
This model is comprised of about 1,500 parts.
A second model is made, incorporating modifications and missing elements.
- 3D Model of the Enigma for building the replica
It is almost complete; in progress are the stecker cables, the covers, and the box and its accessories.
The build
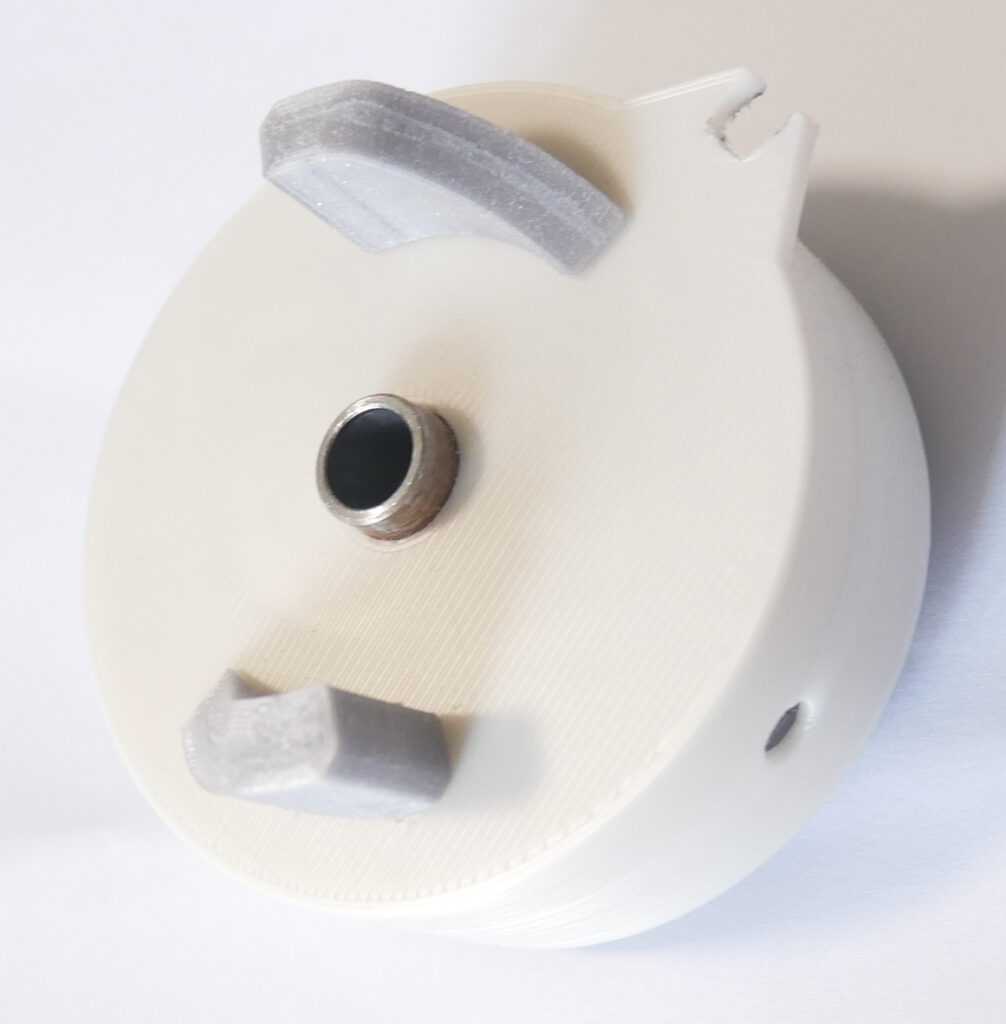
For the machine, parts are 3D-printed whenever possible.
Parts that are in the electrical circuit or have to be more solid or rigid cannot be printed and are outsourced, as is hardware like screws, nuts, wire and springs.
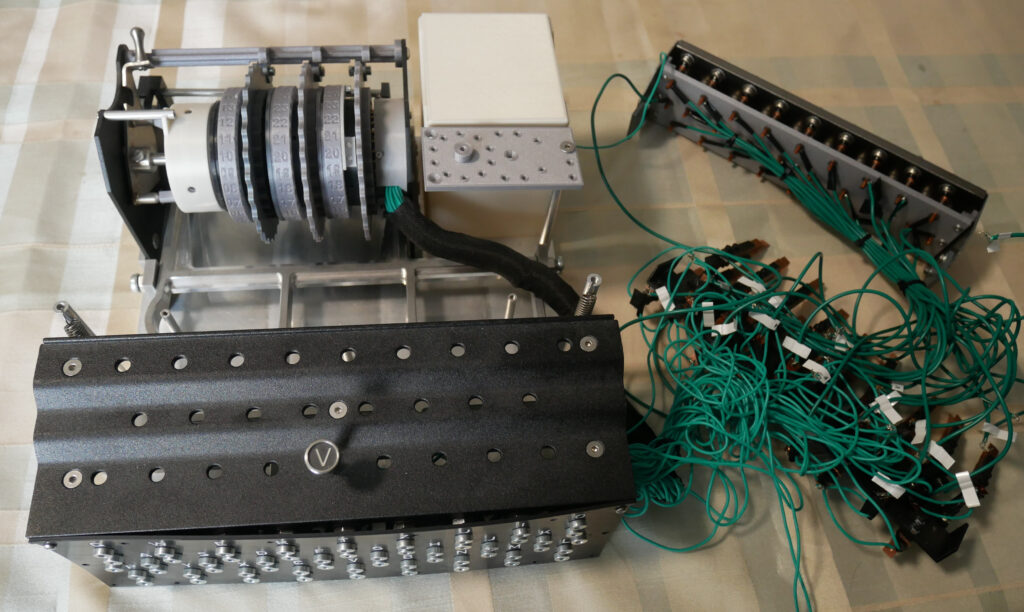
Current status of the project
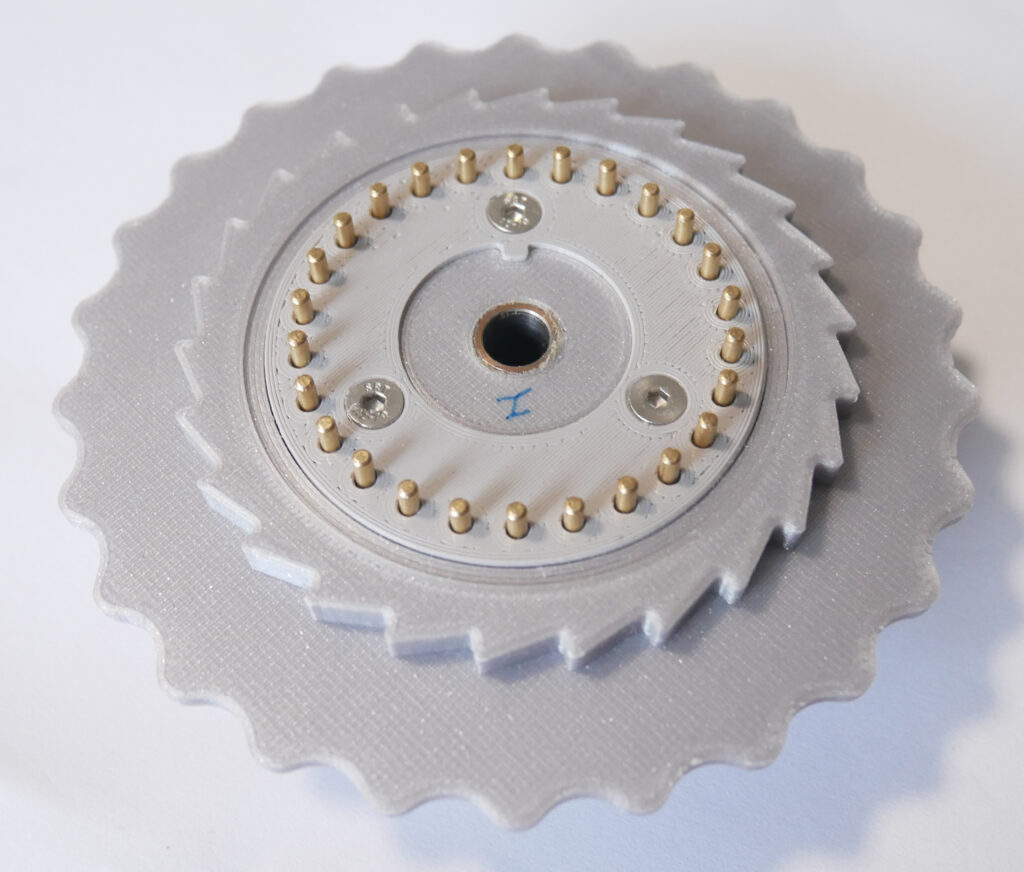
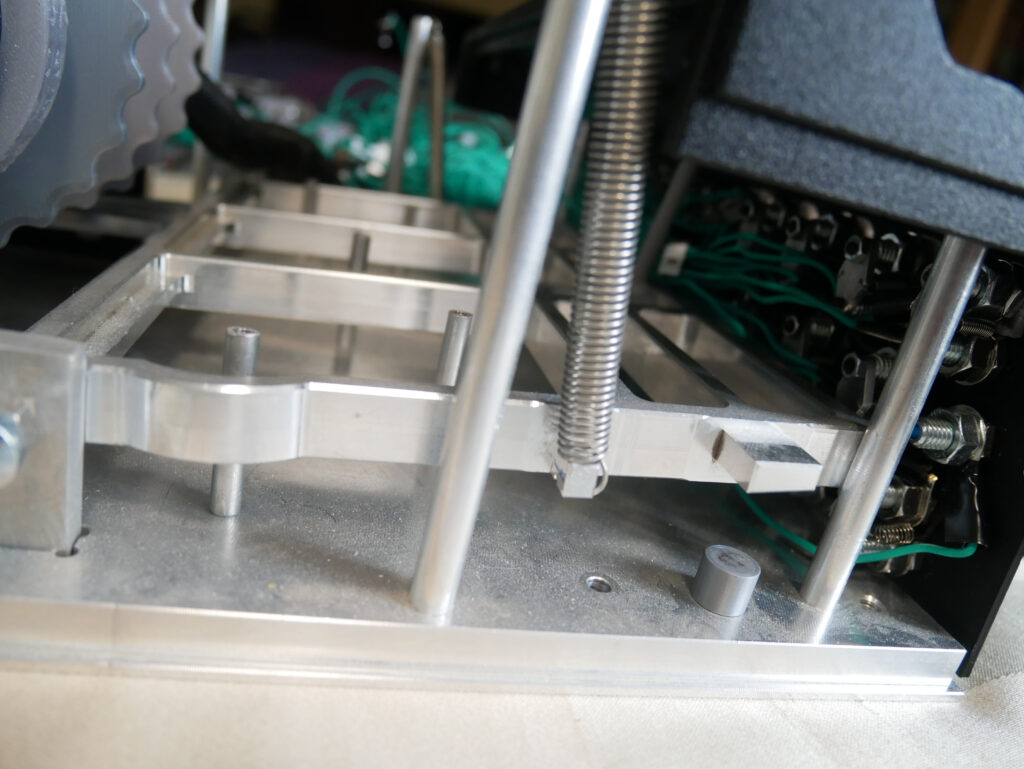
- The machine is mechanically operational, the rotors step reliably.
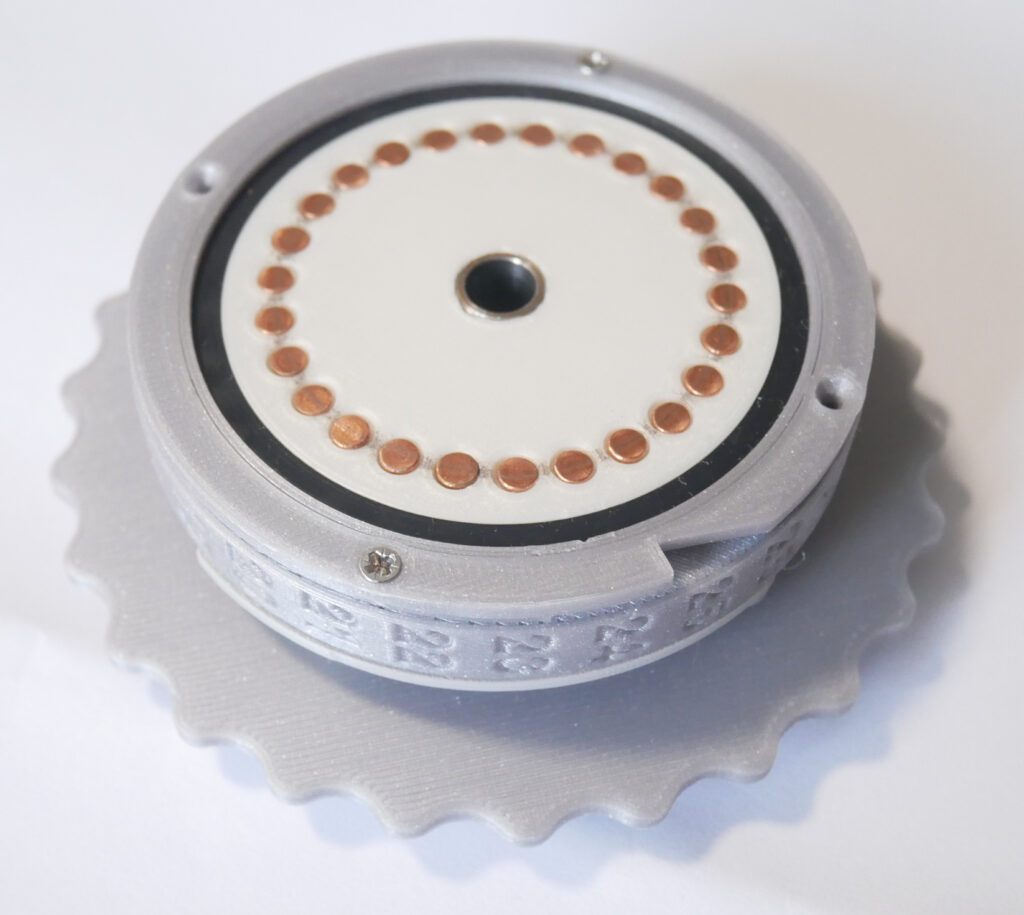
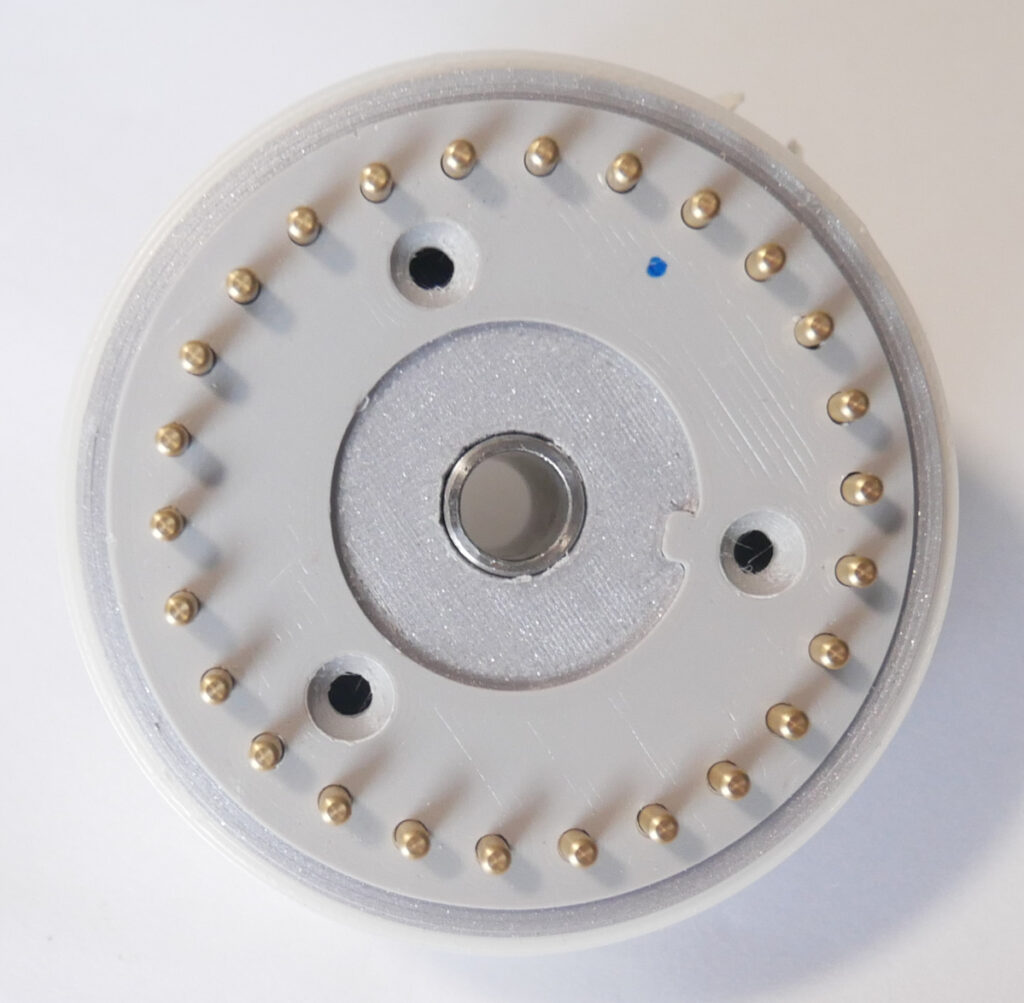
- One rotor has been “half-wired”; each spring-loaded contact (on the right) is wired to another spring-loaded contact instead of a flat contact (on the left), just like a reflector. This allows testing of the machine’s wiring before making 3 fully-functional rotors
This shows that the connections, from the entry wheel to the plugboard, to the key switches to the battery, work. The shortings bar were shunted by plugging jacks in the sockets, as they may add to much resistance at the moment.
Latest modifications:
- The reflector’s wiring is done
- A test rotor has been made
- The machine’s wiring is complete
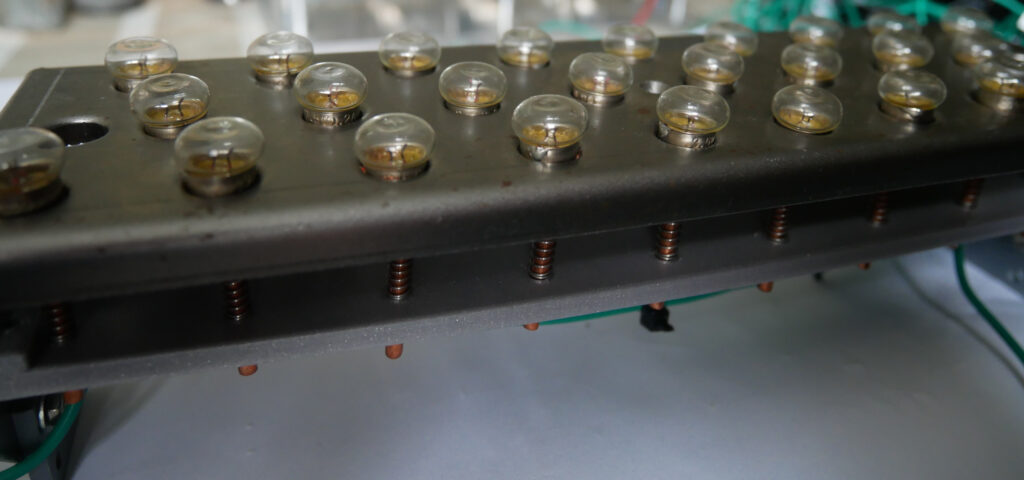
- The bulbs have been replaced with proper reproductions
To do:
- Wire the rotors
- Improve the connectivity of the shorting bars (the prongs probably need to be replaced)
- Print the key stems and assemble all the keys
- Finish designing the covers